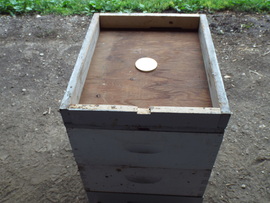
Inner Cover
The first inner covers I built, I tried to make as much like the commercial ones as possible. Routing the groove for the 1/4 inch panel and cutting the oval hole in the middle of the panel with a jigsaw.. This made one side of the inner cover about 3/8 deep and the other side shallower at a 3/16 to 1/4 inch..
Seeing what other people built or used quickly changed my method.
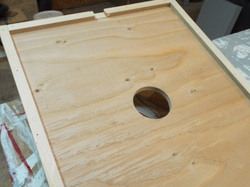
I stopped trying to be fancy. I now use 1/2 plywood, and cut 3/8 by 3/4 shims to go around the edge. They get glued and nailed with brad Nails. I cut a slot in the front edge about an inch wide or just a little larger.
I use that notch in winter as a top entrance and for ventilation without having to put anything under the telescoping cover to raise it up.
The Hole in the center is no longer Oval. I dont use a bee escape so the shape is better suited to holding a mason jar of syrup than a bee escape. I cut the center hole to 2 3/4 inches so a Mason Jar lid will fit into it to use as a feeder.
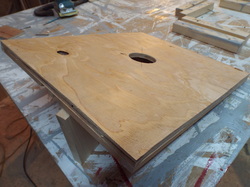
The other side of the inner cover I leave FLAT.. so long as your frame rests in the super under it are the correct height it will work fine with no shims on it. I do sand the edges of the plywood to remove splinters and sharp edges. This is more for my convenience than the bees. They don't particularly care.
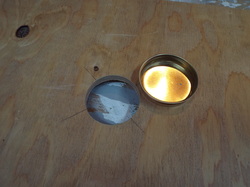
Making the center hole the right size for a mason jar serves the purpose of ventilating the hive, AND allows you to feed THIS particular hive with little worry of robbing, nor do you need to remove frames. More on this can be seen in the feeding section if this site. If it is desired to cover these holes for some reason, simply popping a jar lid into them seals them up nicely.
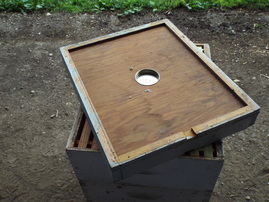
I was shown a different style inner cover this spring by Tim Wilbanks. After using a few of them this summer, I am going to be converting all of my hives to this style.
2" Depth on one side, and 3/8 depth on the other.
2" Depth on one side, and 3/8 depth on the other.
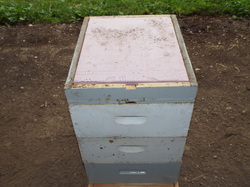
OR, the winter insulation can be left IN this space, negating the need to store it through the summer elsewhere, ALSO providing insulation from the suns heat.
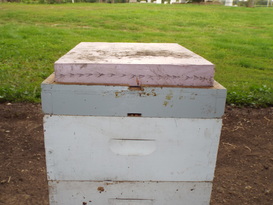
The 2" space flipped down for the winter provides room for sugar, Fondant or candy board, as well as a Pollen patty for spring build up. In either direction the added height of the inner cover keeps the tele cover ABOVE the top entrance. Allowing easier access to this entrance has shown an increase in honey production with cleaner combs.
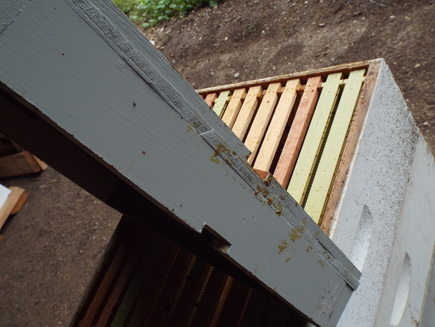
A notch on both sides insures there is always a small top entrance. This provides ventilation through all four seasons, as well as an entrance/exit. For Field bees returning with nectar in spring, Summer and Fall, or a means of taking a cleansing flight on that 45 degree day in February when the snow and ice still covers the lower entrance.
This cover takes me an extra five minutes to make over a standard tele cover, but the benefit is worth it.
This cover takes me an extra five minutes to make over a standard tele cover, but the benefit is worth it.
