Honeybee Related Crafts
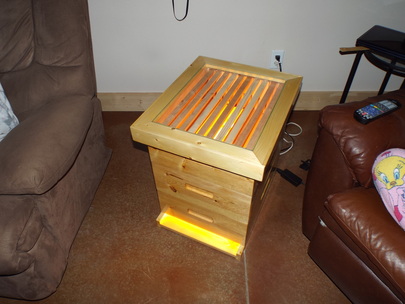
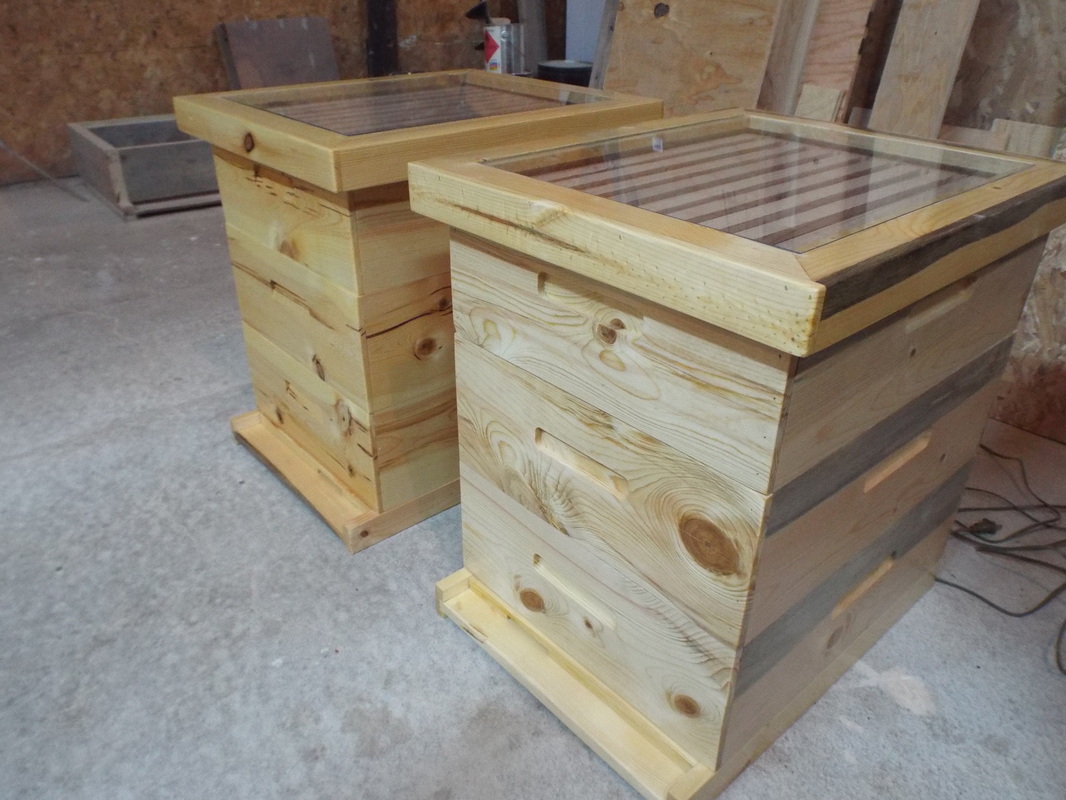
If you like bees, and often build your own equipment, there are a myriad of things you can do to brighten up your home and make a statement. Beehive end tables like this one for instance. I am no woodworker but my wife fell right in love with this end table. The wood is coated with spar varnish. Light in the bottom, switch on the wire behind it. The top two mediums have foundation-less frames and you can look in through the glass and SEE the frames. I fully intend to try clear coating some old frames to see if they will preserve to replace them with, and make this even more interesting.
I am still trying to make that second end table for my wife, but as fast as I get them done someone wants to buy them.
I am still trying to make that second end table for my wife, but as fast as I get them done someone wants to buy them.
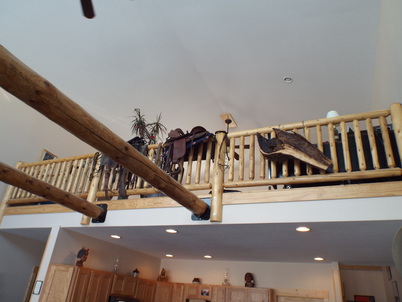
Next time you get the chance to save a piece of a bee tree chamber.. they make GREAT conversation pieces hanging in the house or being used as the base for a small table etc. This one was cleaned minimally, and coated with clear lacquer. It looks NICE in person and sparks up as many conversations as the bee hive end table!!
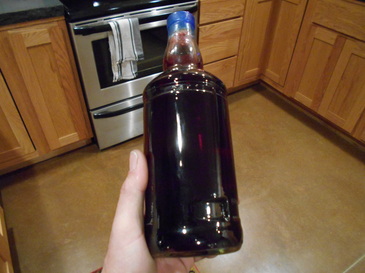
MEAD!
If you get your bees into good production size, don't forget to try your hand at making MEAD.. the bottle in my hand is Blueberry Melomel made with Wild Maine blueberries. It tasted like rocket fuel for almost a year, and is JUST now starting to come around to being VERY good.
I grew up hearing about the Vikings drinking MEAD, and always imagined it as the MANLY MAN's drink!!! Imagine my surprise when I found out MEAD was just honey wine!!!
Rendering Beeswax
So how do you take those old combs and make useful WAX out of them?
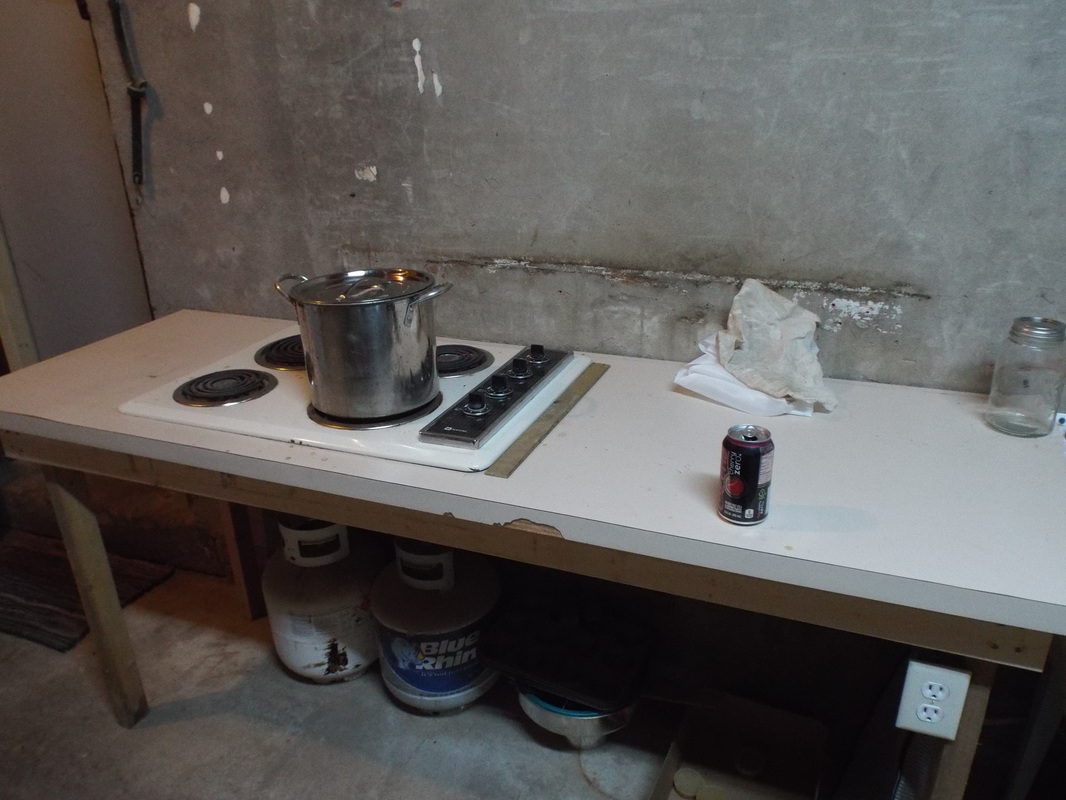
First.. before you attempt to melt any combs into wax you need to scrounge up some dedicated equipment. What ever you use to melt that wax is ruined for any other purpose. Please trust me on this. DO NOT use any of your wifes good pots to melt wax!! DO NOT melt your beeswax in her kitchen!
Ok, thats taken care of.. I picked up a couple of decent pots at yard sales one was 50 cents, the other was a dollar.
I prefer a hot plate or electric stove burner over an open flame. Hot boiling wax is very flammable. The less open flames nearby the better.
This is my extracting room and where I melt my old combs down and render them into usable beeswax.
I have read about multiple ways of doing this, I am only going to talk about how I do it..
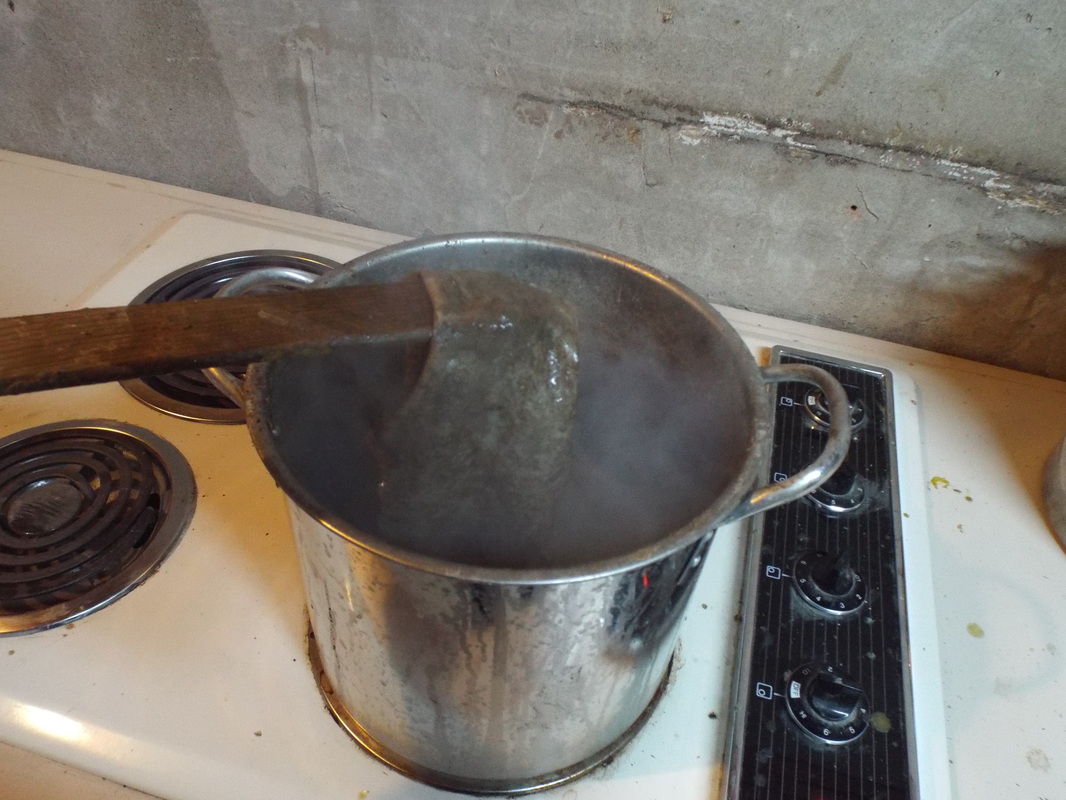
I put an inch or three of hot water in the bottom of the pot and put it on the burner. I set the burner on high and let the water come to a boil. Then I simply start adding the old comb. You will end up with something like this;

Ewwww..... really?
Yes, really.. If you ONLY put fresh new comb and cappings into your pot you will have pretty and clean wax to start with.. If you also add older combs that are dark.. well, all of those old cocoons, the dirt from several thousand bees tracking across the wax, the wax moth webs, dead bees and bee parts, etc, etc, will all be a part of what floats to the top.
What you see is a 5 gallon bucket that had been filled with wax from cutting out old comb and fixing new comb, as well as a few cappings. Those old combs etc were packed pretty well into the bucket, but they still do not make a LARGE quantity of wax when all added up...
So, in order to get this clean, you need to strain it.. Nope, NOT using your honey strainers.. I recommend nylon cheesecloth. I cut a piece that fits over a 5 gallon bucket, and use a rubber bungee strap to fasten it in place;
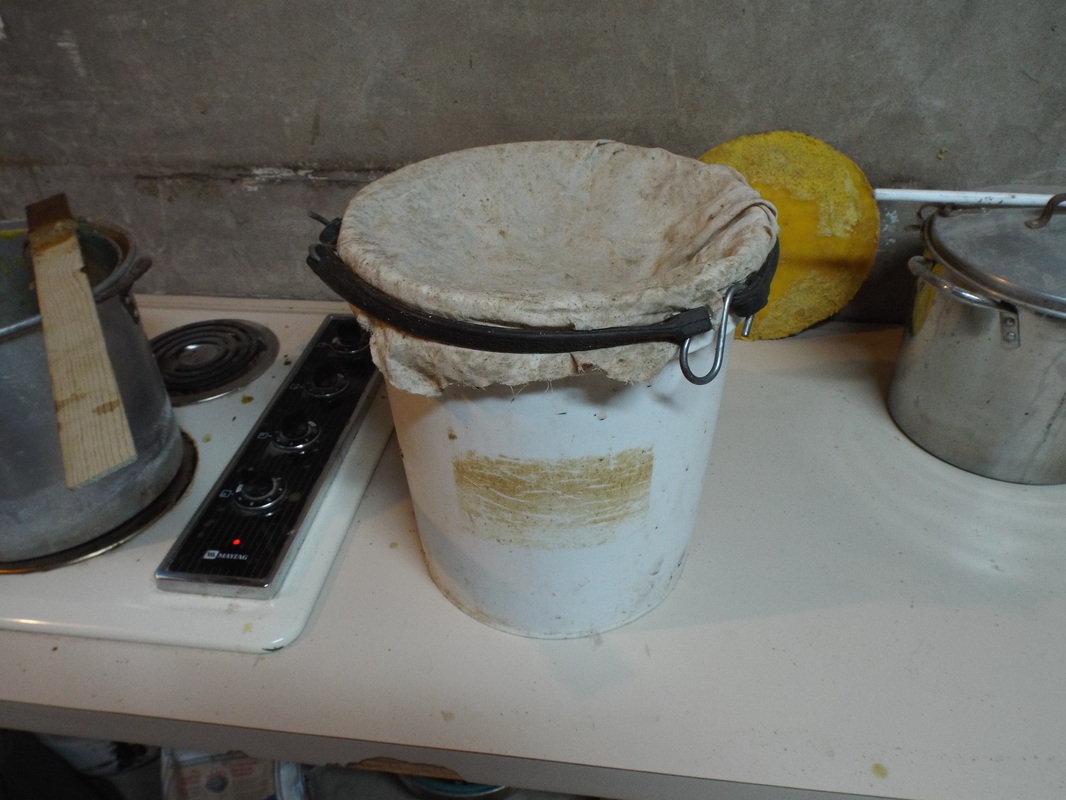
I have tried an old T shirt as a filter, but found two problems. First, the cloth plugged up VERY swiftly and I could not get the wax through it. Second, the cloth soaked up quite a lot of the wax, and it was not recoverable. The nylon cheesecloth DOES still plug up, but not as easily. You pour the wax from the pot onto the cheesecloth. All of the debris floating in it will become mired at the screen and you will have to use a stirrer to swish it around a bit and scrape the cheesecloth gently so as much wax as possible drains;
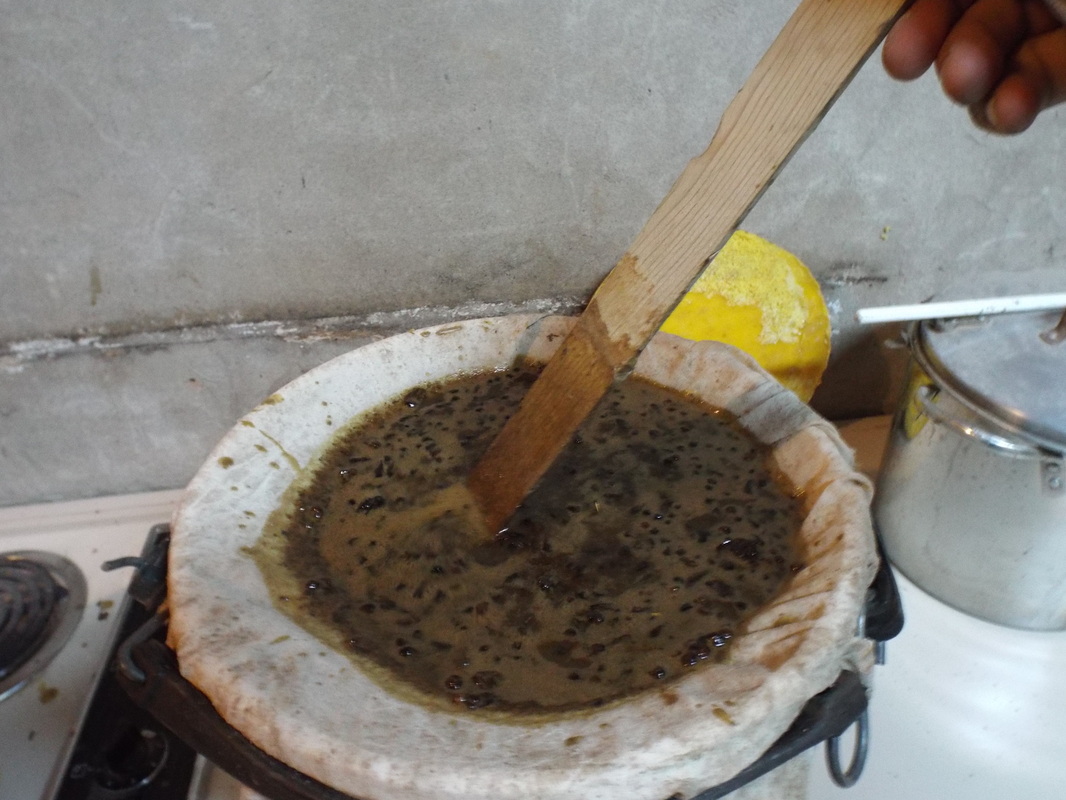
As the wax drains through, you are left with the SlumGum.. All the icky stuff you dont want.. I find the refuse makes a FANTASTIC fire starter.
When no more wax is dribbling through, you can either pour more hot wax into the filter and keep stirring, or, you can scoop out the SlumGum if your finished pouring;
When no more wax is dribbling through, you can either pour more hot wax into the filter and keep stirring, or, you can scoop out the SlumGum if your finished pouring;
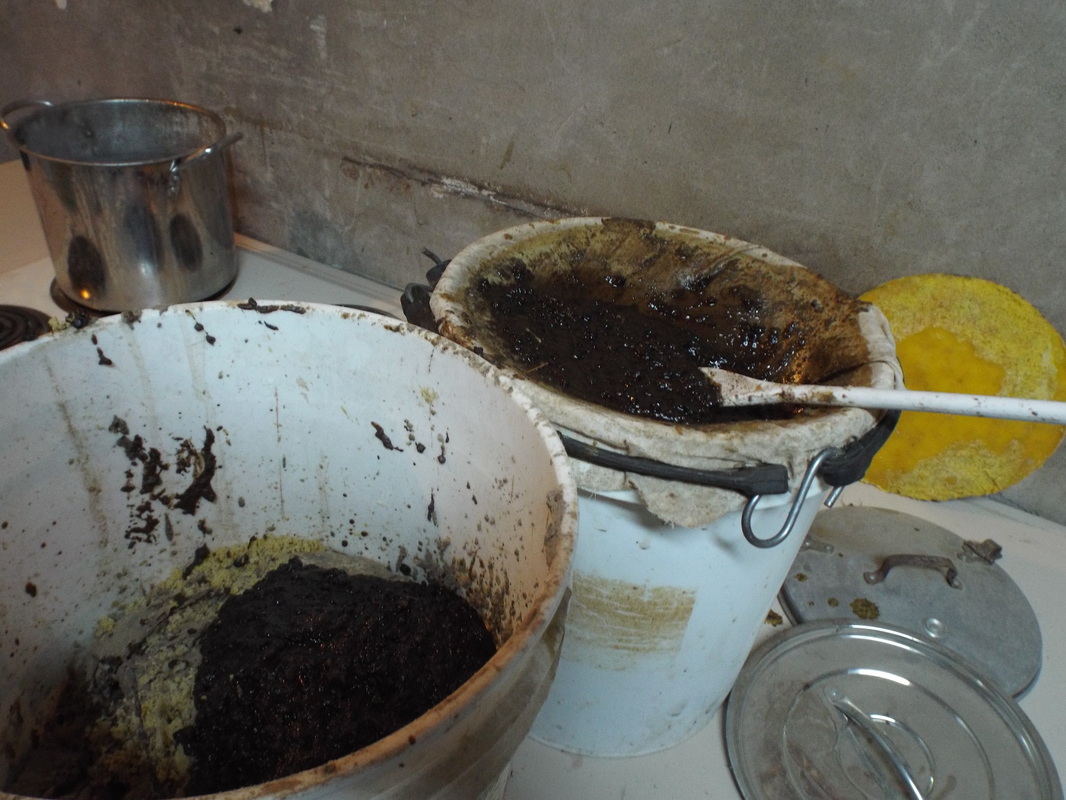
Yep, its ugly, but necessary. Once you have scraped all the bad stuff off/out of the filter you can take the bungee off and set the filter aside. Put six to eight inches of hot water in your pot and put it back on the burner. When its boiling drop your cheesecloth filter into the boiling water and stir it about;
Depending on how clean you want your filter, you may have to dump the water and start over two or three times.
I am not fussy, once is enough for me.. The cheesecloth will retain some wax. When you remove it from the water, spread it out and let it cool. The residual wax will not hurt anything. The next time you have it strapped on a bucket, and poor boiling wax on it, that hot wax will melt the wax in the filter instantly. This allows you to reuse the cheesecloth many times, if you so desire!
Now, you let the wax in the bucket cool. As it does so, it will shrink slightly and pull away from the sides, leaving the wax disk floating on the water below it;
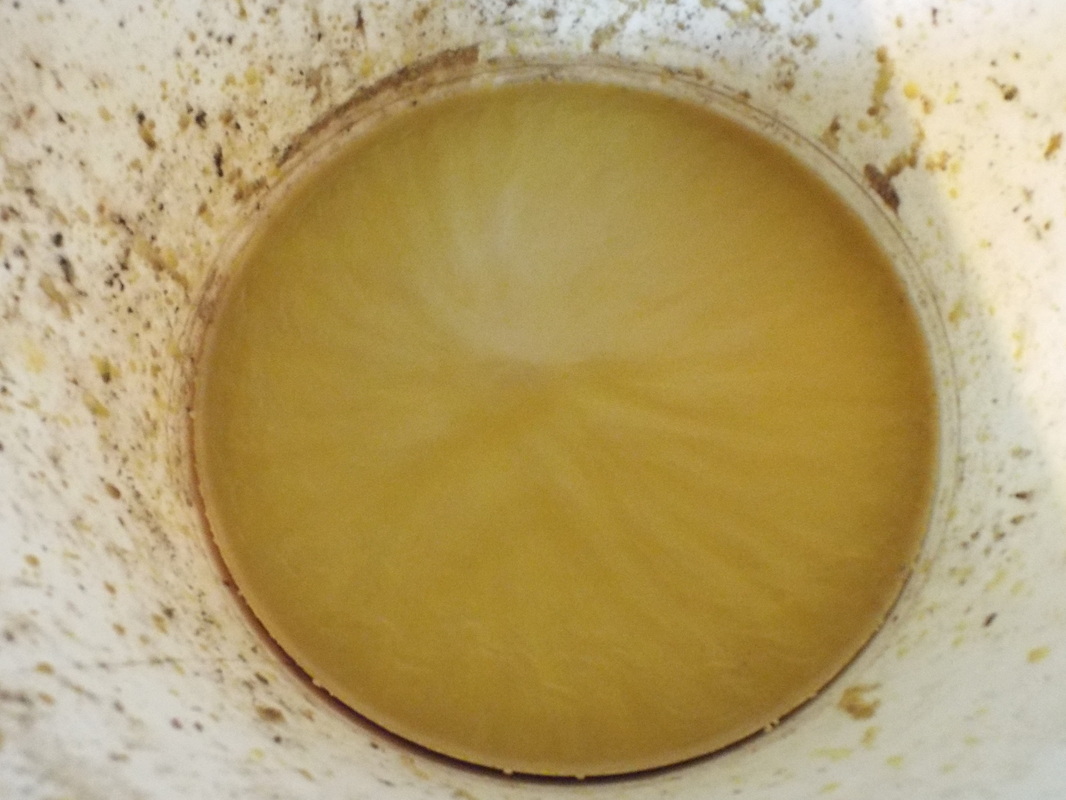
All of the debris and dirt that floats will be found UNDER the wax disk. Rendering the wax removes more of the suspended debris within it each time. So every time you melt and scrape the wax will be cleaner.
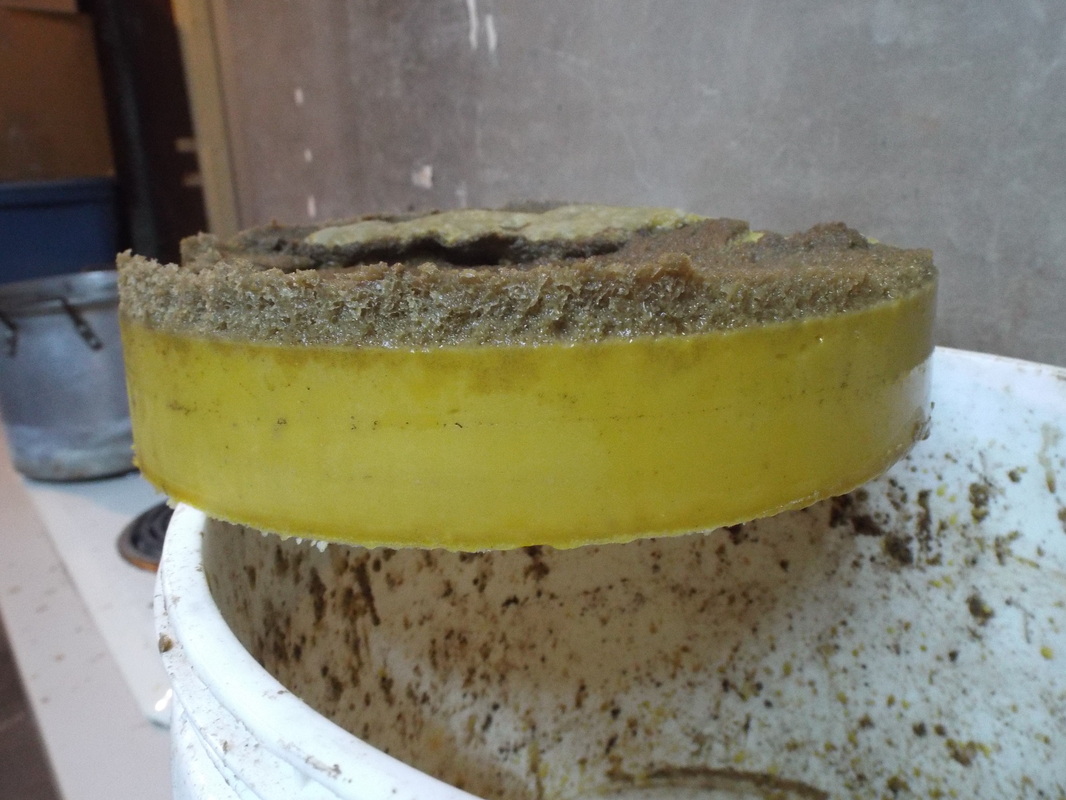
Lift the disc out when cooled, and then use whatever is your choice of weapons to scrape the bottom of the disk. A hive tool works really well to do this, I am using a simple putty knife here.

You CAN use a finer cloth to filter if you wish. I usually render three times as shown, and the fourth time I melt the wax in the pot with no water over LOW heat, and pour into a muffin tin. The resulting cupcakes of wax are easy to handle and pack to sell or to use. Rubbing wax onto my foundation-less frames with these pieces is simple and straight forward. The bonus is, they are small enough to hide from my wife.. who believes WAX belongs in her candle shop!
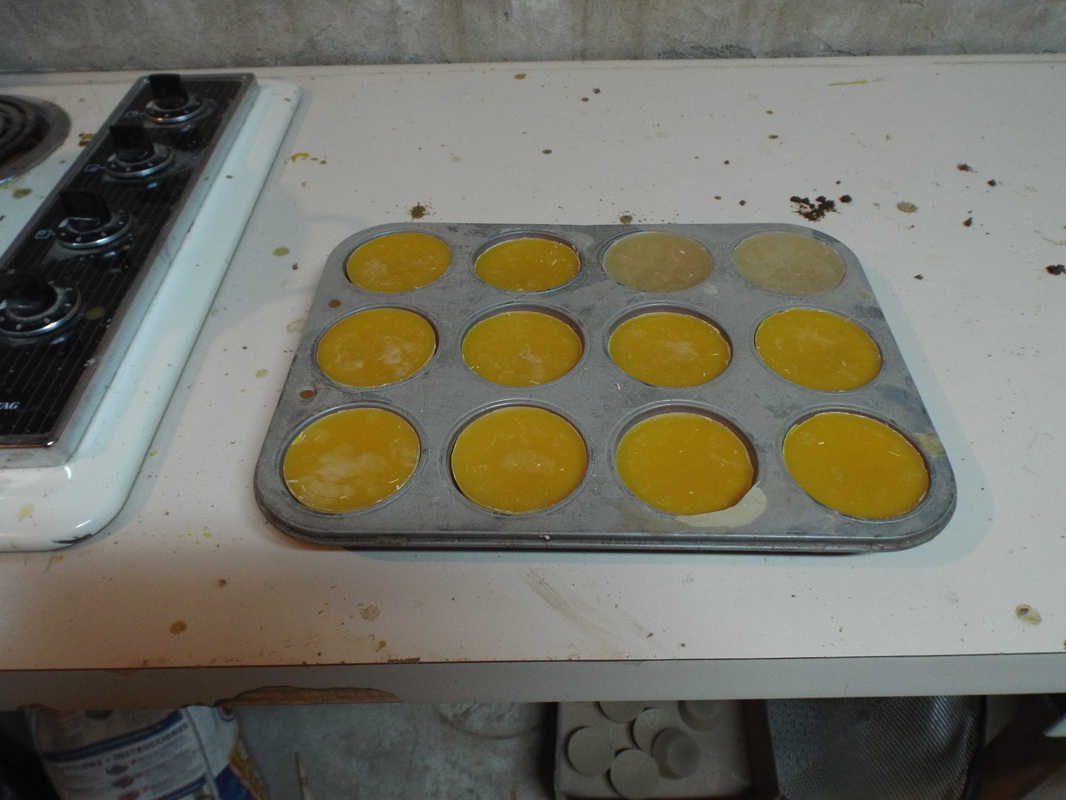
As you can also see, there are little splatters of wax and Slumgum everywhere.. Having my little wax rendering station here means I don't HAVE to be careful of such splatters, but I can promise you, if you do this in your wifes kitchen.. SOMETHING will happen, and hot beeswax will be everywhere. YOU will be in emergency situation ONE trying to get that wax off of everything before SHE comes home!
NOT.. that I ever did anything like that....
Hope this helps someone!
Scott/LazyBkpr
NOT.. that I ever did anything like that....
Hope this helps someone!
Scott/LazyBkpr