Building Beehives
Plans to build your hives can be found in many places on the web. A quick search will quickly have you in business !
Plans at Beesource; http://www.beesource.com/build-it-yourself/10-frame-langstroth-barry-birkey/
http://www.piteraq.dk/bier/beehive.html
http://www.lsuagcenter.com/en/our_offices/departments/Biological_Ag_Engineering/Features/Extension/Building_Plans/small_animal/bees/Beehive++Frame.htm
A site with LOTS of plans and information. http://beehivejournal.blogspot.com/2009/01/build-it-yourself.html
Another site with a lot of good information and plans; http://www.michiganbees.org/beekeeping/in-the-beekeepers-workshop/
A little searching should get you what you need!
Vids coming soon! As I make them I will post them, to show how " I " do it, you can take it from there!

OK! so let me first say something about building the boxes. I sell hives, and when I first started, I used dado blades to cut box joints, but quickly found that dado blades are expensive! You also can't get by with a cheap table saw to use them. You need a saw with an arbor long enough to stack the blades. Beyond that, I also found that I had difficulty sealing the joints, and keeping them sealed. Many sites claim that there is LESS end grain exposed with box joints than with a rabbited joint.. I beg to differ. HALF of each board is exposed in end joint. with the rabbit joint HALF of one board is exposed. It equals the same amount. The difference is, there are less corners to split, less seams to allow moisture in, and less flats where water may sit along those seams.
Box joints are stronger, but I would ask how strong you need the corner to be? I still have boxes with BUTT joints in service after seven years of use. Butt joints are about the weakest style joint, but are sufficient if they are not mistreated. The Rabbit joint is the intermediate. If well glued and nailed, screwed or stapled, it will not fail before the corner of the box becomes an entrance for the bees.
Cutting the boxes;
To make rabbited joints, cut your box sides to 19 1/8 inch The good part is, that the sides need only be cut to length and width. The ends are a different story. You need to cut a 3/4 inch rabbit into each side, and a 5/8 rabbit into the top. Its actually pretty simple to do. I use the table saw, as seen in the pictures below. I use the cut off saw to cut the boards to length. I have a block that drops into place for each length, so it takes me about 5 minutes to cut enough boards for six boxes, as seen in the pictures below.
It is important to SQUARE your saw. If your not cutting a good 90 degree angle your boxes will be difficult to nail together, and or they will not sit flat on the box below them. Take the time to square your saw, and you will be a happier beekeeper for it.
So you have all your pieces cut, and now your ready to nail them together.
Staples, nails, or screws?
What do YOU want to use?
I have used all three.
To me, pre drilling holes so you don't split the boards using larger nails or screws isn't worth the time for a box you will replace when the corners start to go south. IF, you are using Cypress, Cedar or one of the hardwoods, your boxes will likely last a lot longer. They are more expensive, but the longevity may well pay for itself, in which case, if you want to drill pilot holes and use screws then by all means DO IT!! Just make sure not to skimp on the glue!
I use Titebond III. Its water proof and bonds very well. I have used titebond II and Gorilla wood glue. They both work, but unlike the paint I don't want to skimp on the most major structural component in my hives. If you are going to pre drill and use screws you wont need to count on your glue as much as I do.
If you are using scavenged wood, make sure the glue joints are clean! Old paint, varnishes, Oils, waxes or just dirt or dust will compromise the joint.
I have a lot of boxes with nothing more than 1 1/4 inch brad nails in them, and many more boxes with 1 1/4 inch narrow crown staples. The GLUE is what I depend on holding the box together. If its not glued well, it doesnt matter what you nail it with, it will be flimsy.
I have a flat table I nail my boxes together on, with the semblance of a jig nailed to the table. From here forward, its glue and nail. Always make sure your 5/8 frame rest is at the top.. NOT, that I have ever nailed one together upside down.....
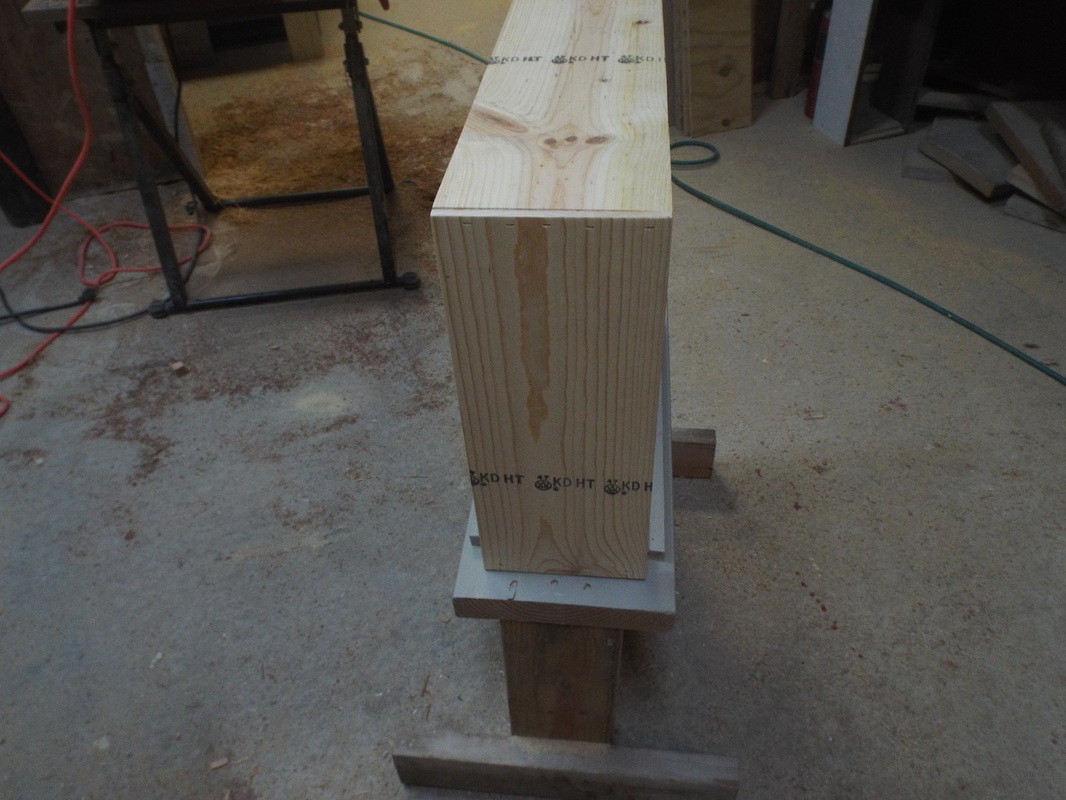
Something heavy will insure the boxes are flat as the glue dries. I place the boxes on a flat surface, weight them down, and return the next day to do the hand holds and paint them.
Hand holds!
Some build a jig and use their Skill saw. Some use the dado blades in their table saw. I have tried both. I'm already missing a finger, and using the skill saw nearly had me missing a few more. As I have said before, DADO blades are expensive, and they don't like my cheap table saw! The router bits are CHEAP and last well for this purpose without trying to remove appendages.
Some build a jig and use their Skill saw. Some use the dado blades in their table saw. I have tried both. I'm already missing a finger, and using the skill saw nearly had me missing a few more. As I have said before, DADO blades are expensive, and they don't like my cheap table saw! The router bits are CHEAP and last well for this purpose without trying to remove appendages.
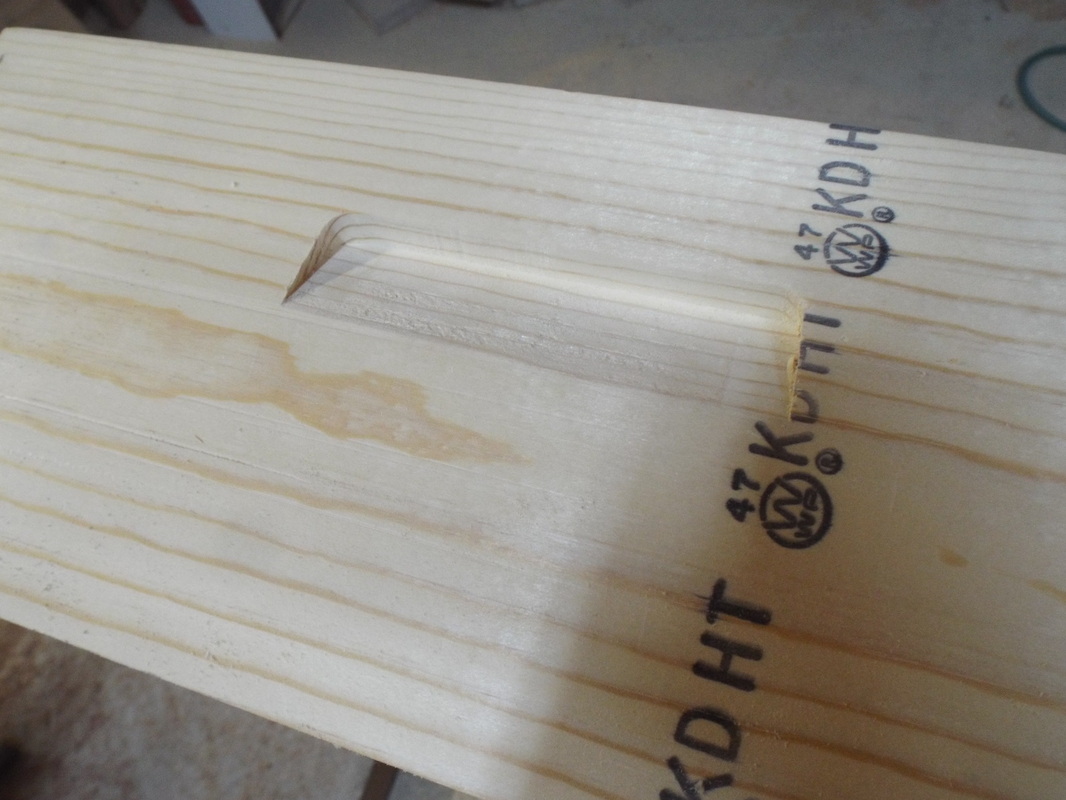
After a bit of experimenting, this is what I have for hand holds. I ended up with a 20 degree angle to make it look like I wanted. The hand hold is SLIGHTLY tapered toward the top, but quite easy to grab hold of, and no more ledge to hold rain water. Also no more picking up a super set on its side the wrong way and dumping the bees and frames out.
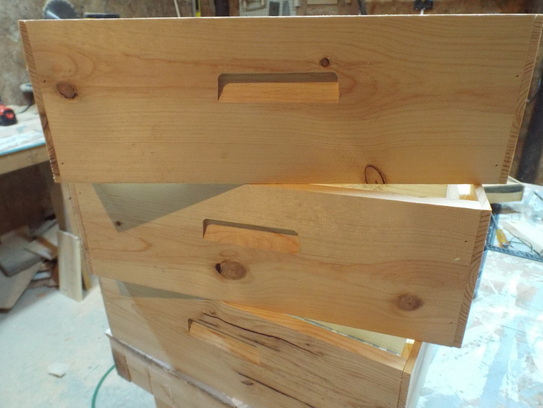
Quick and easy to rout with the jig, and less end grain exposed.. I like it enough that this is how I will do hand holds from here forward.
A little more detail about my tapered jig and its use.
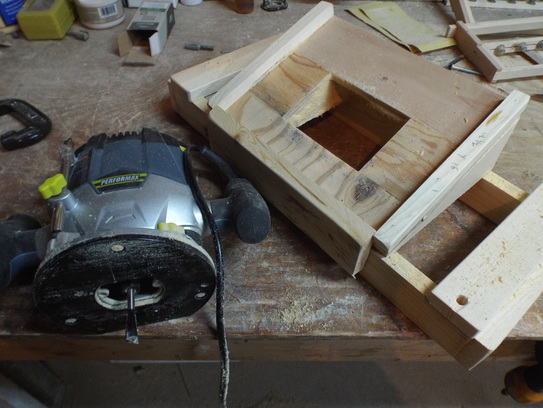
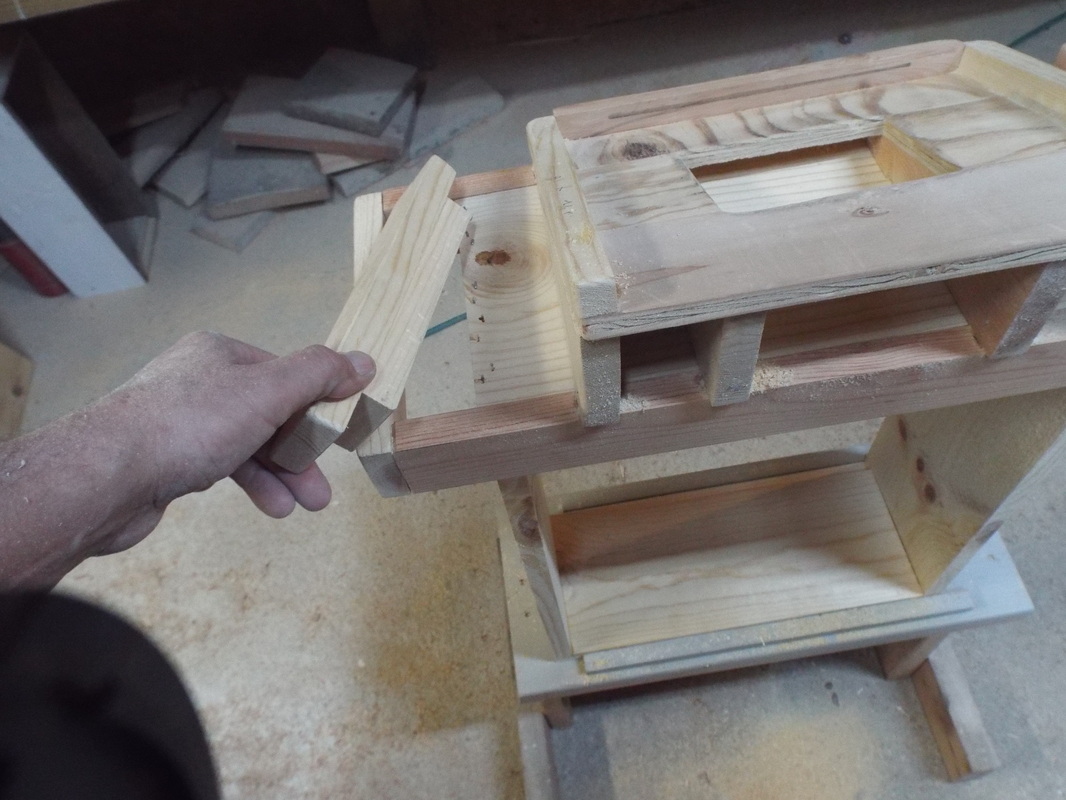
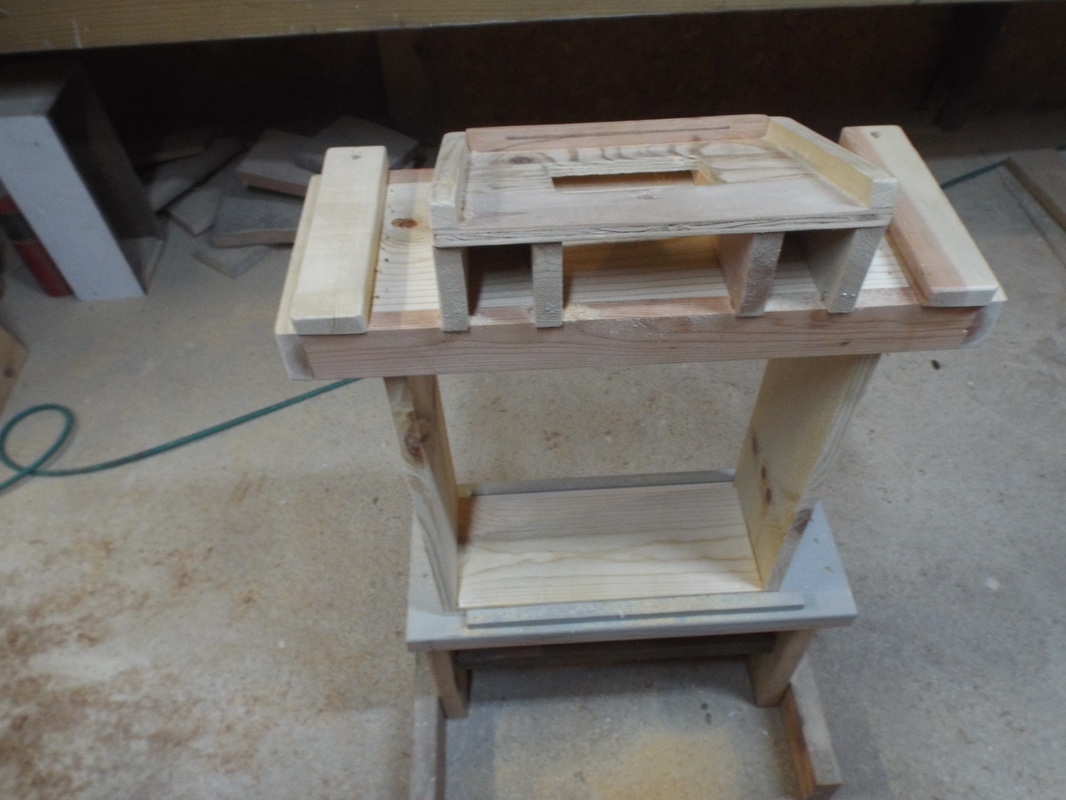
I use a stand slapped together from scrap to set my box in;
I use a stand slapped together from scrap to set my box in;
This holds the box securely so I can run the router about in my jig. I use the same jig for short and long sides of the boxes by installing a couple of spacer blocks when I do the short sides, as shown in the pictures below.
Then, using the router with the dovetail bit, its just a matter of routing the handhold. Gentle pressure. No need to FORCE the bit through the wood, let it cut. You could use a standard router bit, but the angle of the handhold might not be enough for a firm grip. This is something you will have to test and decide for yourself. I like the grip of the 20 degree bit.
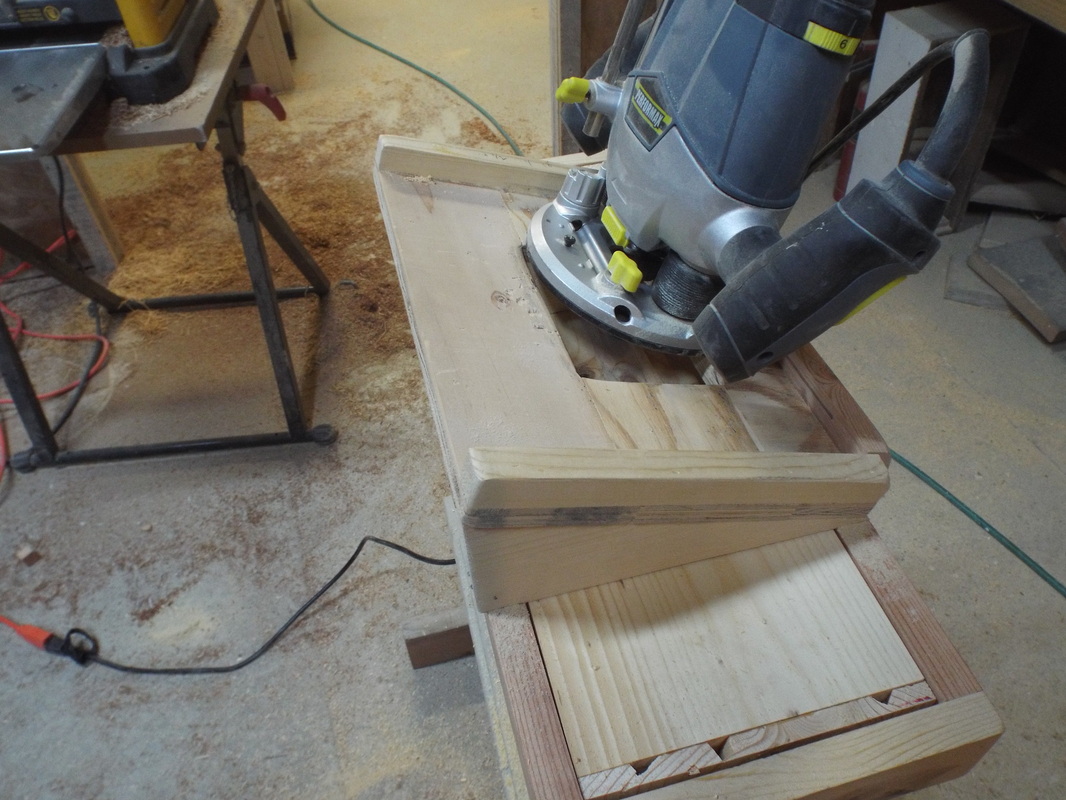
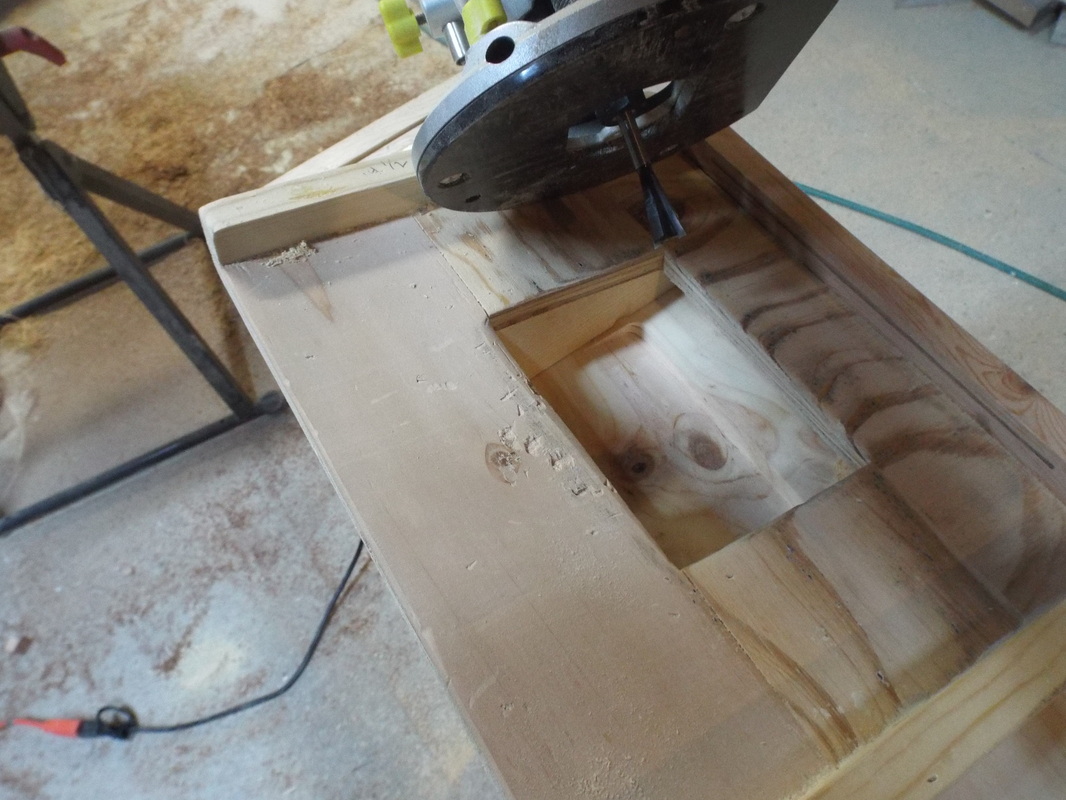
It really is as simple as running the router around the edges of the jig. The router bits cost about 6 bucks each for the cheap ones. 20 ish for the better quality and closer to 40 for the good ones. For what I am doing, I have tried the cheap, and medium grade bits. They both lasted about the same length of time, so I only buy the cheap bits now.
If your using deeps, its the same principle, just a wider jig. However, you may want to set your handholds a little higher in the box if your using deeps, that way, when you have had ENOUGH of lifting them, and not being able to swap your frames abouit, you can cut those deeps down to mediums and still have perfect hand holds! (grin)
Video below just for fun.
Video below just for fun.
Painting!
White is the traditional color, and still seems to be the easiest color to find, but most any color works if its cheap enough! I have gray and clear cypress boxes as well.
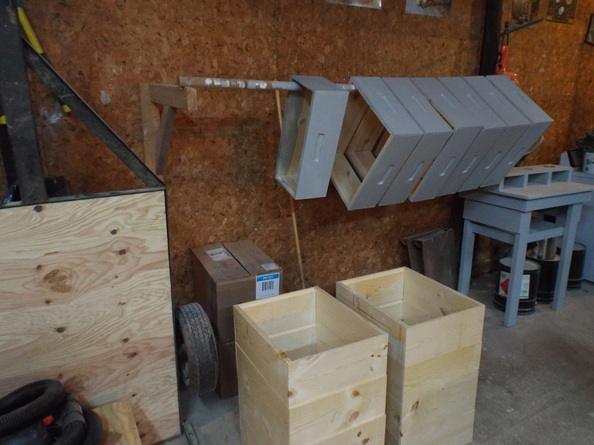
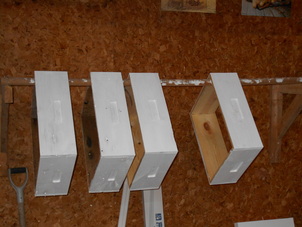
Some folks use a 2x4 across benches or chairs. I had an old closet rod, so built a couple of brackets to hang it across. I am not a fan of bending over or reaching around any more than I have to, so this set up works very well. Rotate the box as you complete each side. No bending or reaching, just painting!
You can also stack the boxes and paint, or even spray them, but often as the paint dries it turns into glue making separating the boxes a bit of a pain.
Wax dipping is also an option if you have the fortitude. I find that having dozens of gallons of flammable hot wax over a flame to be beyond my LUCK threshold!
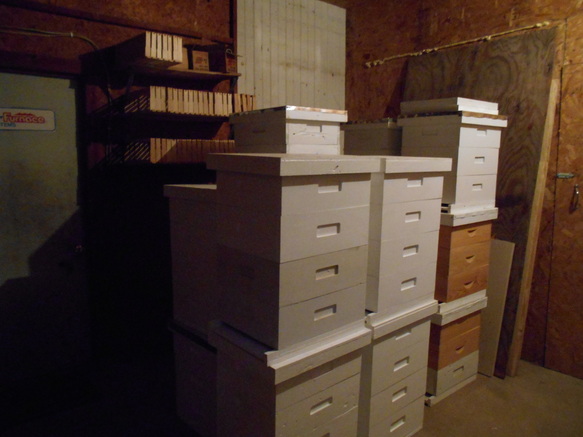
Bottom Boards, Inner covers, and telescoping covers are covered in their own sections. You can see in this picture that SOME of my tele covers have metal flashing on them, and some do not. I have found that the cost of building your own make it too easy to replace these pieces if anything happens to them. Inner covers don't see much external weather, and completely unpainted last quite a long time. Tele covers don't get abused much either. They don't get pried on and usually get set aside when working the hives, so without flashing, and three good coats of paint, seem to be holding up as well as anything commercial I have purchased.
All told, for materials, if you BUY new wood, glue, nails etc... you can build a hive for between thirty five and forty five dollars, not counting the frames, electricity, bits/blades or time, and thats WITH metal flashing for the tele covers. At that price, why worry about it?
Having said that.. IF you only have a couple of hives for enjoyment, garden pollination, hobby etc.. then by ALL MEANS, go all out!! Buy walnut boards, Cedar Boards or even curly maple boards. Use stainless screws and hand rubbed oil finish to make your hives ONE OF A KIND show pieces with Copper Garden covers!
I am just showing you how easy it is to go CHEAP and still have GOOD functional equipment. I have NOTHING against Hives made into show pieces, and ENJOY looking at them!!
Scott