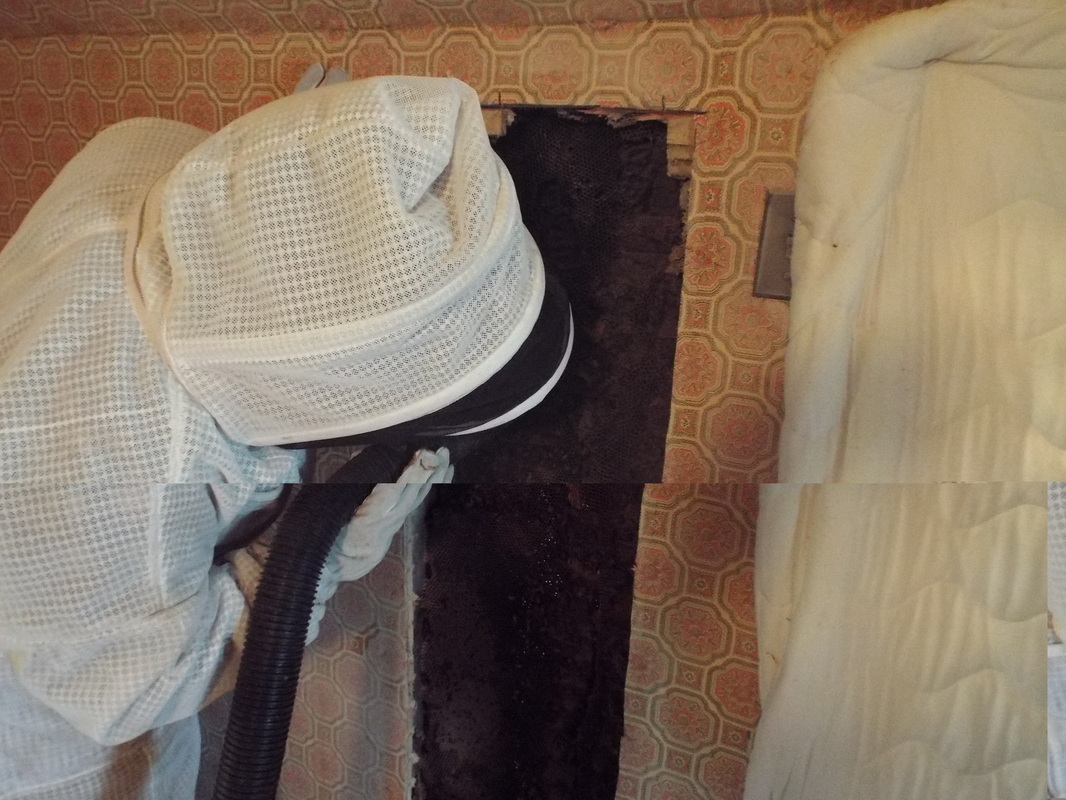
Bee Vac
I spent considerable time looking at bee Vacs online other people were using. I used a friends bee vac that was a two unit vac. Shop vac hooked through a bee box. I wasn't happy, and thought there had to be something better...
Another friend came up with a pretty decent shop vac. The wheels had broken off, and it had been drug around until it wore a hole in the canister, so I scrounged it for parts.
This vac is built over a standard ten frame hive. The purpose, is so that I don't have to DUMP the bees into a hive. they are already IN a hive!
When the job is done, I take the Vac to my yard. I pop the top off, drop an inner cover and a telescoping cover down on it. Remove the cleat from the entrance, and walk away.
I wanted a SINGLE unit, that was small enough to get into an attic space, light enough to carry with one hand to make getting up a ladder easier, and simpler than most designs I had seen in use, or the plans for. THIS, is what I came up with.
BEEVAC 6000!
I cut the motor away from the top of the shop vac, and removed the filter adapter so it was more or less flat underneath. I cut a hole in the top of the box, and screwed the motor to it.
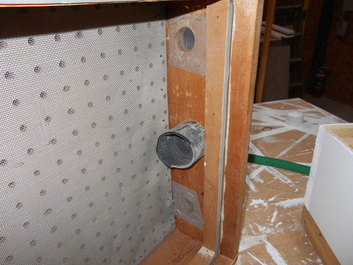
The Inlet adapter had a 60 degree bend to direct the dust and dirt etc toward the bottom of the vac canister.. BAD for bees.. I cut that off to make the entrance into the vac smooth and as painless for the bees as possible.
I cut two holes in the front, and covered them with screen on the inside, and used two metal pieces held in place with a single screw so that they can be pivoted to adjust the amount of suction in the hose.
I cut two holes in the front, and covered them with screen on the inside, and used two metal pieces held in place with a single screw so that they can be pivoted to adjust the amount of suction in the hose.
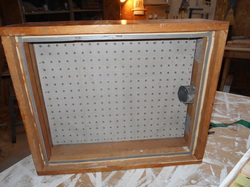
The next issue, was how to keep the bees from getting sucked up against whatever I used as a filter, which would quickly kill them. I came up with a piece of pegboard, and covered that with a piece of aluminum window screening. This also has the effect of disbursing the vacuum inside the chamber. The hose will have suction, but once in the chamber the suction would be so diffused that the bees wont get sucked up and trapped against it. There is about three inches between that, and the hive body to give the bees space to come zooming into the vac without getting splattered against anything. IF I use only a single hive body. If I use two mediums I can leave the top one empty to allow a LOT of free space.
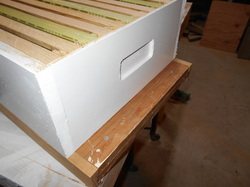
The entrance cleat is held in place by two sheet rock screws. Simple enough way to keep the suction where I need it, and easy to remove when its time to set up the hive.
It uses a standard bottom board, and standard Langstroth ten frame box. IF, there are a LOT of bees, I can put another empty box on top of this for more room. I use a standard ratchet strap to bind it all together, and it can be used as a lifting point if I need to tie a rope on it to lift it into an attic or tree.
The first test didn't go so well, it still had too much suction. A lot of dead sticky bees.
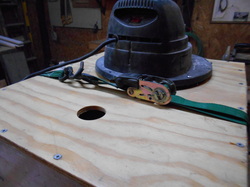
The quick fix was to grab my cordless drill and a hole saw and make another port in the box to diffuse the vacuum..
THAT worked, and the remaining bees were saved.
My Generator, and a 100' Extension cord insure that I can do a cutout anywhere in a short time.
THAT worked, and the remaining bees were saved.
My Generator, and a 100' Extension cord insure that I can do a cutout anywhere in a short time.
When I built this, the Bushkill Bee Vac was still a two piece unit. It has been upgraded to incorporate the vac motor into the box, and has at least one distinct advantage over my design. THIS vac WILL pick up debris, and drop it on top of the frames. Blown in insulation is the biggest PAIN about the design. The suction can be made low enough to avoid most debris, like sticks and leaves, but the light fluffy insulation loves to get sucked into it.
I have considered several modifications, but they add bulk, and weight, as well as making using a hive body as the chamber impractical..
I have two ten foot pieces of 2" PVC I adapted to the hose so I can reach straight up twenty six feet. Having a 20 foot extension on the end of the hose keeps me off ladders most of the time... But you need good forearms if you plan to hold it up long!
I have recently been to the Bushkill BeeVac site, and have to say I am impressed. At the time of this posting, the price was $99.00 without the vac motor/hoses. Building your own carries a certain satisfaction, BUT, you cant get better than what you will find with the Bushkill Vac.
Check it out! Click the link below!
I have used the bee vac multiple times now, and even used it to capture a swarm, and I have to say I am very pleased with how it works.
It has two problems. One, it will suck up light material, insulation etc.. And it will drop that material on top of the frames. For the most part that has been a very minor annoyance. The second problem is getting honey in the hose. The bees stick to it and will plug up the hose and kill bees, but I am willing to bet any bee vac will have a similar problem. Keeping the tip out of the honey resolves the problem.. If I do get honey in the hose I grab a different hose, rinse the first one and put it on the outlet of the bee vac, within moments it is dried and ready to use again..
A lot of bees have been through the hoses.. The greatest benefit?
Removing the top, shaking the bees off and putting the lids on. Remove the entrance block and I am done.
I am going to build an inner screen that is NOT part of the vac lid so I do not have to shake the bees out of that part.. Remove the vac lid the screen will remain in place. Good vids of it being used in other areas of the site. Hopefully many more will be forthcoming!
