Extracting Honey
"It may seem odd that straight exposure to pollen often triggers
allergies but that exposure to pollen in the honey usually has the
opposite effect...In honey the allergens are delivered in small,
manageable doses and the effect over time is very much like that from
undergoing a whole series of allergy immunology injections."
~Thomas Leo Ogren
All of your hard work has come down to this. Getting the honey from your supers into bottles!
I was looking at new extractors. A smaller extractor that had what seemed to be at least a little quality was over $300.00. That was for a 6 frame extractor that was hand powered. Needing a larger extractor, I was looking at prices in the neighborhood of $1300.00 for an 18 frame extractor that was motorized. On the verge of ordering it, my wife found an older extractor for sale. So we went to look at it.
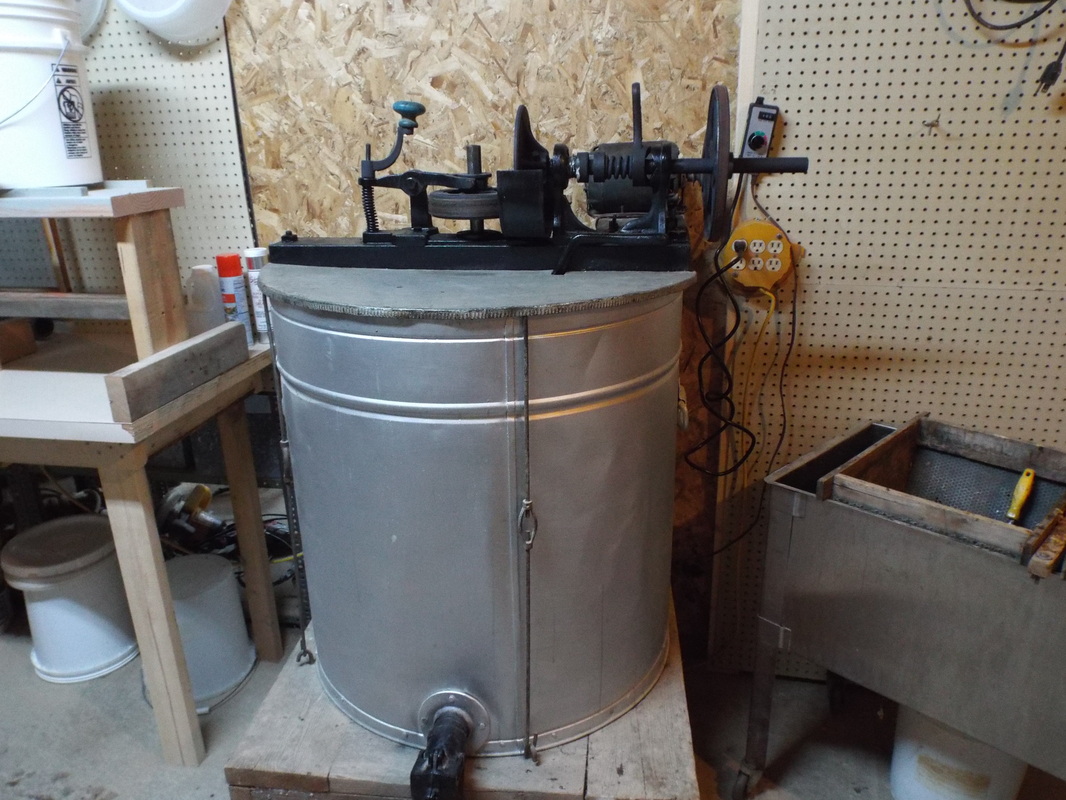
I wasn't entirely impressed at first glance. I'll post some pictures of it below.
So, if your anything like me, your thinking.. Ewwwwww! It came as is, complete with a mouse carcass stuck to the bottom for $100.00. I cleaned it up a bit, and put it together to see if it would even work.
Heres a video of it running.. forgive the raw video, I didn't take the time to edit it.
Heres a video of it running.. forgive the raw video, I didn't take the time to edit it.
Finding that it actually WORKED was encouraging, but there is still the issue of a galvanized tub with LEAD seams. A little research on the subject revealed that there are quite a few products available to fix such situations. Many places offer Food grade epoxy to cover surfaces and make them safe. The one I chose was Camcoat offered by Brushy Mountain. Click the link if interested to go to the product page.
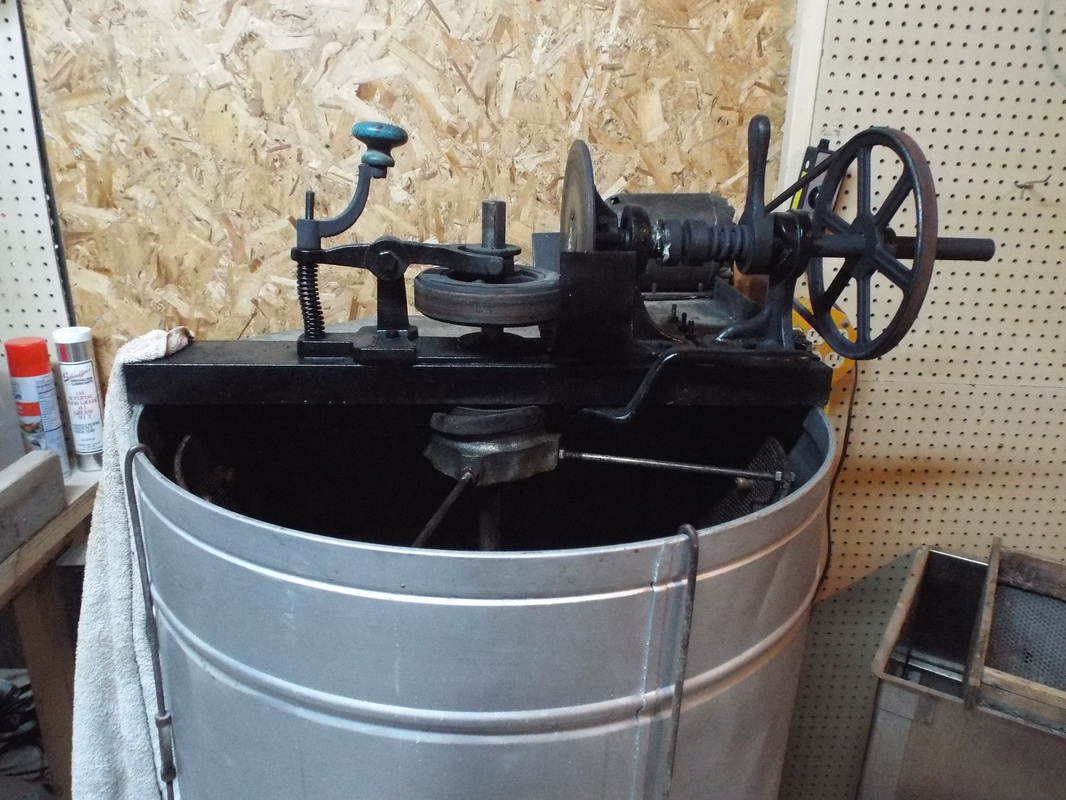
The tub was cleaned, sandblasted, and repainted and is waiting to be coated with the Camcoat. The lower bearing was not a sealed bearing, which, if food grade grease was used would probably work, but in this case it was painfully apparent the grease in it was not food grade. Someone had placed a beer can over the bearing in an attempt to keep the honey away from it. I had to cut the rivets that held the lower bearing hub in place, and then use a press to get the bearing out. A new SEALED bearing was fourteen dollars. The outside diameter of the bearing was slightly smaller so had to be shimmed to make it fit snugly, the shaft diameter was a perfect fit.
So all that is left is to get the tub coated and the bearing hub re installed to finish the tub. The basket is another story. I will have to get it to a place that can dip it, or sand blast the entire thing. I will update here when that is finished.
Overall, this heavy duty extractor now impresses me just as much as it DIDN'T impress me when I first saw it. It was manufactured by AI Root Company. What remained of the original emblem was still on the side of the tub. The closest guess to the manufacture date is "sometime" in the 1950's. So this thing is 60 or 70 years old, and STILL in operating condition. Go buy a NEW extractor today and see if it still operates in just 20 years.
The basket is supported by Cast Iron base and upper hubs. Everything about it is sturdy and built to last. I would bet that in another 40 years it will still be going strong. I won't see that happen, but I can hope for at least another 20.
Because you can afford to buy a new extractor doesn't mean you should. Look around a little, you may be surprised what you can find. I wouldn't mind having a new extractor, with variable speed and a timer that will spin at different speeds at different times, but for the money I have invested in refurbishing this old one, I think I have a better extractor, despite having no electronics, that will last longer. It is also bigger than the ones I was looking at new, so I have room to grow quite a bit with this monster in my arsenal.
A picture of the beast refurbished and ready to go. Less than $200.00 invested for a machine that is sturdier than anything you can buy today.
Camcoat is a great product, but it takes TIME to cure/dry. 8 hours per coat. It took about four days for me to get the inside of the tub and the basket well coated after they were blasted. In the end, it was worth every moment I spent three times over. No, it is not "shiny" like a new stainless extractor. It has 70 + years of use, and I am hoping for at least another 20 while I am the proud owner.
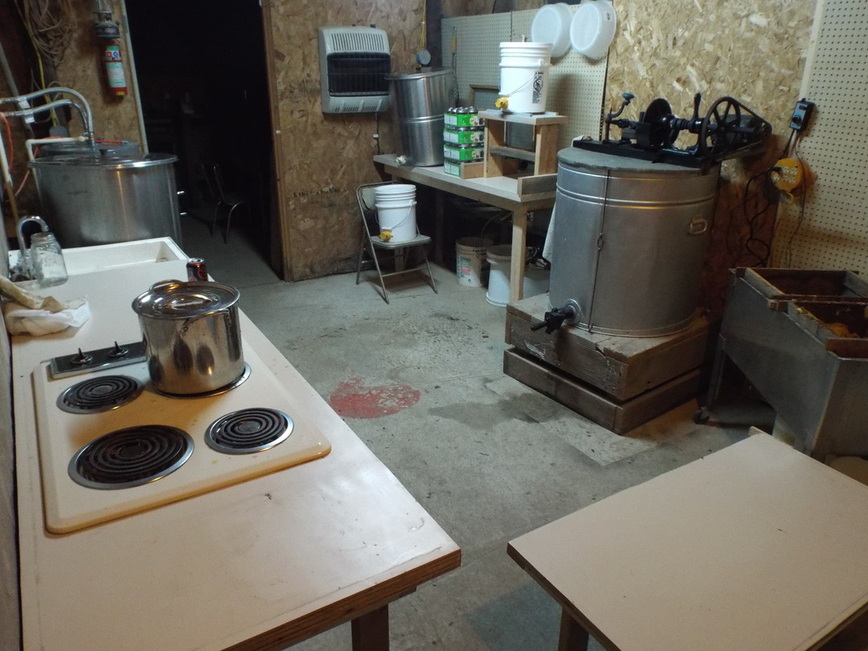
A few pictures of my extracting area and how I have it set up;
Everything you see in the picture was purchased second hand, with the exception of the wall heater and the hot water heater..
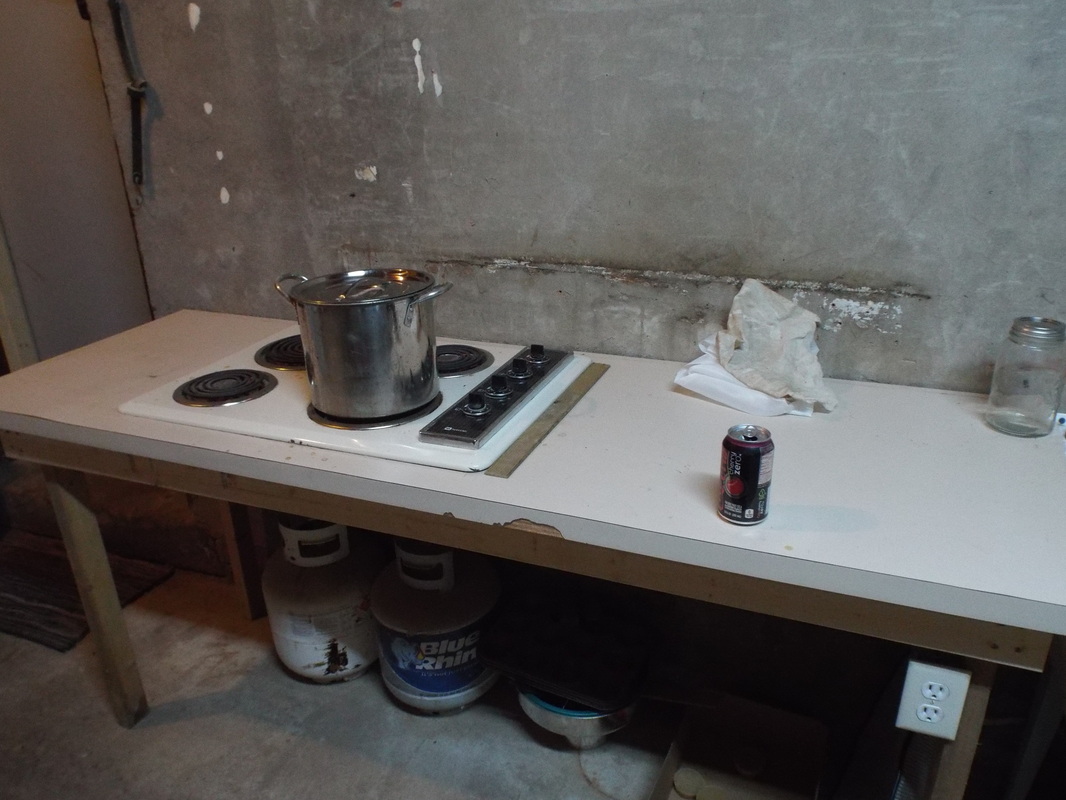
The table in the foreground is a cut off from the counter top on the left with the stove top in it. They were free.. I use the small table to set supers on, the Formica counter top makes wiping up honey easy and fast.
The decapping tank, hot knives, honey tanks etc were all part of a buyout from a beekeeper who was getting out of beekeeping.
The extractor I posted about above. It has been very well coated on the inside with Camcoat.. Having used smaller and newer extractors, I have to say that the time and effort spent on the monster were WAY beyond time well spent.. Fantastic, Awesome, Excellent are all words that fail miserably in conveying how happy I am with that old AI Root extractor. I have to have it way out of balance and or spinning REALLY fast before it decides to start wobbling. I have found that I do not need to spin it up to max speed to get the job done in short order. My Foundation-less frames also really like this extractor. Not a single blow out in the last extracting venture.
I can set the supers on the table, Decap and set into the extractor smoothly without moving far. I can remove the empty frames from the extractor and set them into an empty box on the table ready to go back to the yard.
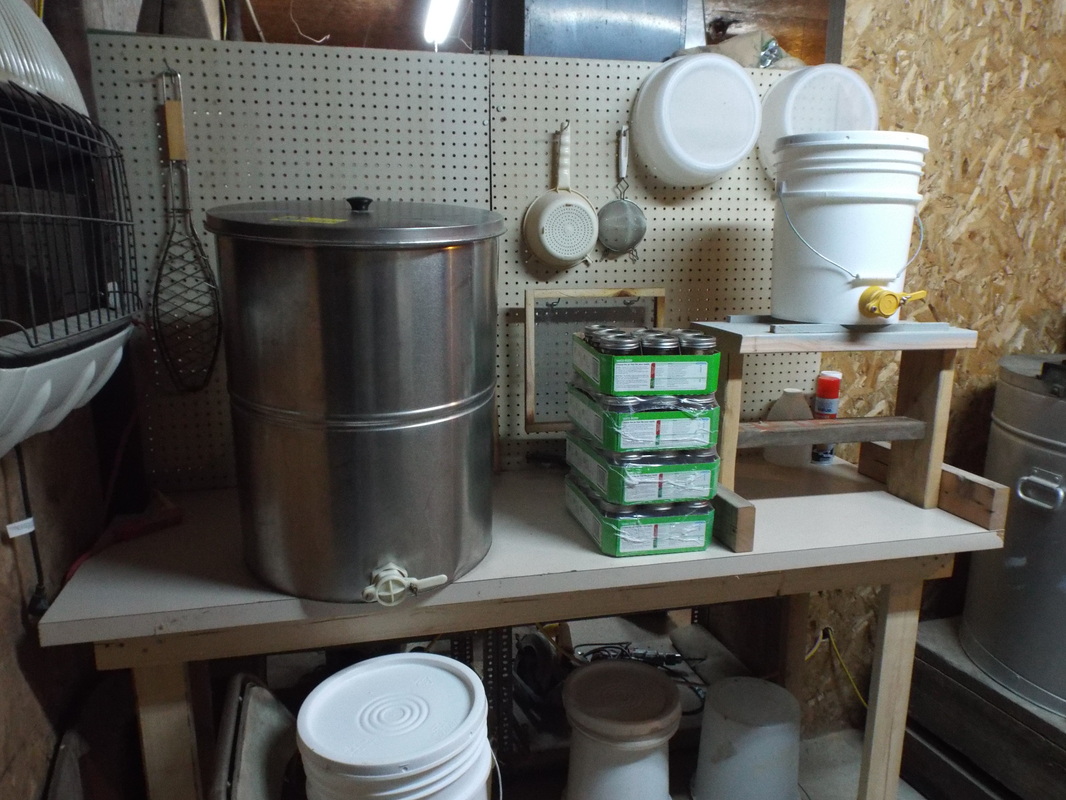
The other end of the free counter top is where I have my smaller settling tank and do my bottling. It is set near the heater in case I need to add some warmth to the tank. At this point I have not had to use it for that purpose.
Pegboards allow me to hang up tools etc and keep them out of the way.
So your set up and ready to extract!!
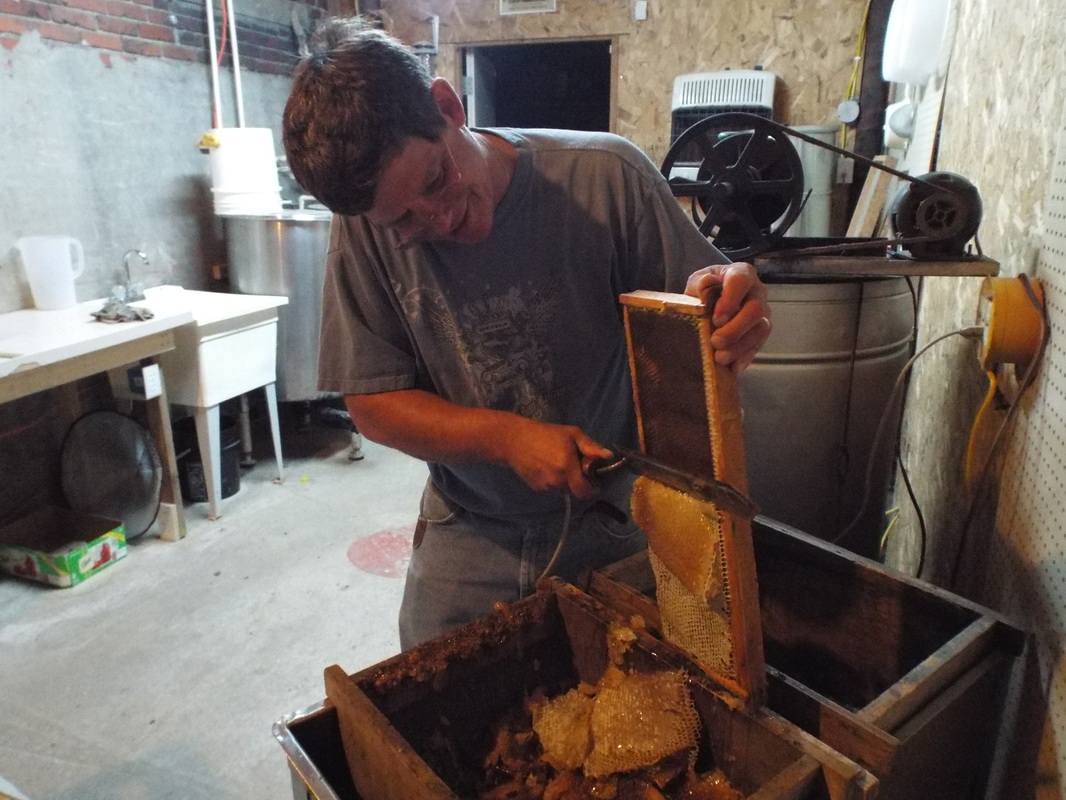
Uncapping the frames is a lesson in methodology.. You can use a bread knife soaked in HOT water.. just make sure to wipe the water off before each use. You can use a hot knife like I do, or you can invest in a decapping plane.. If I can find someone that has one I want to try it. Ihave heard good things about them. For now, the hot knife works.. Below you sill see Eagle Eye Ted putting the hot knife to work!
A word of caution.. The hot knife gets HOT.. I know I am being obvious, but when you slide that thing across your knuckle the honey on it will feel like NAPALM! So use care!
Once you have the frames un capped, set them up in the extractor. Try to balance them as best you can.. If you have a frame thats heavier than the others, try to put another heavy one opposite it in the basket etc..
Start spinning slowly, run the RPM's up a little, but do not get carried away. Let some of the honey spin out, this will lighten the frames and help keep them from blowing out.. Less important if you have plastic foundation, Really important if you use wax foundation or no foundation. Once it has spun for a couple of minutes slowly increase the RPM. I have found in this extractor that i do not need to run it all the way to "WOW" to get good clean frames. 1/2 to 3/4 speed for about two minutes cleaned the frames exceptionally well.
I leave the spout open and have a bucket under that spout. I only close the spout when I need to change buckets.
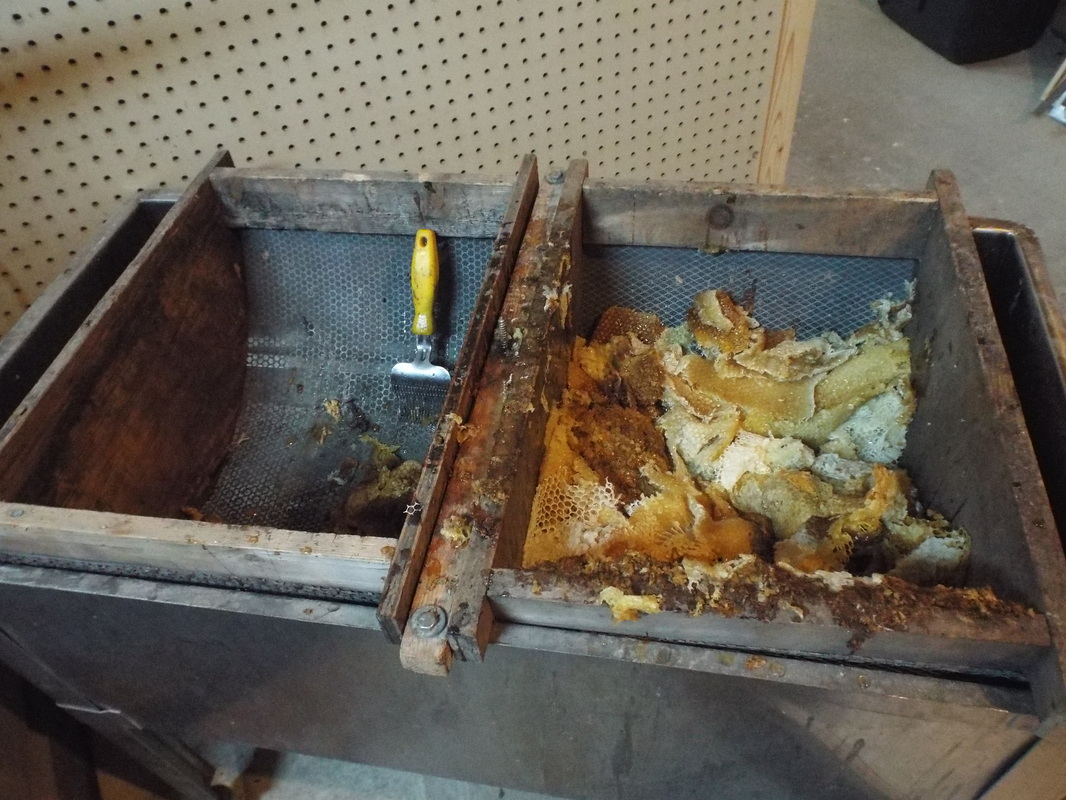
From the extractor to the bucket I run the honey through a double screen. #8 hardware cloth above a frame with standard window screen, you can see the window screen frame I built hanging on the pegboard. so two screens in one shot. The #8 screen will catch some of the courser stuff, bees and chunks of wax, the finer screen catches more bee parts and pieces of wax too small for the larger mesh to catch.
The buckets are then poured through an 800 micron screen into the settling tank, and allowed to rest a couple of days so impurities can float to the top and be removed. This also allows the air bubbles to rise and clarifies the honey considerably. From there, the honey goes from the spout on the settling tank back into the 5 gallon buckets with the bottling spouts through a 600 Micron screen. I bought plastic strainers.. If I had to do it over again I would buy the stainless screens. If you have 5 hives or less, the plastic screens should last you quite a long time.. If you have a dozen or more hives, the constant washing will eventually cause the plastic mesh to give up the ghost.
The Bucket gets set on top of the stand, and bottling commences.
Having running water available is a huge bonus. Everything gets sticky.. EVERYTHING! You can limit the stickiness by continually wiping everything off.. If honey hits the floor, stop, and wipe it up. When the handle of the knife you are using gets sticky, you get honey on the buckets, etc, etc.. stop, and take a moment to wipe it off, it will make the job much more pleasant.
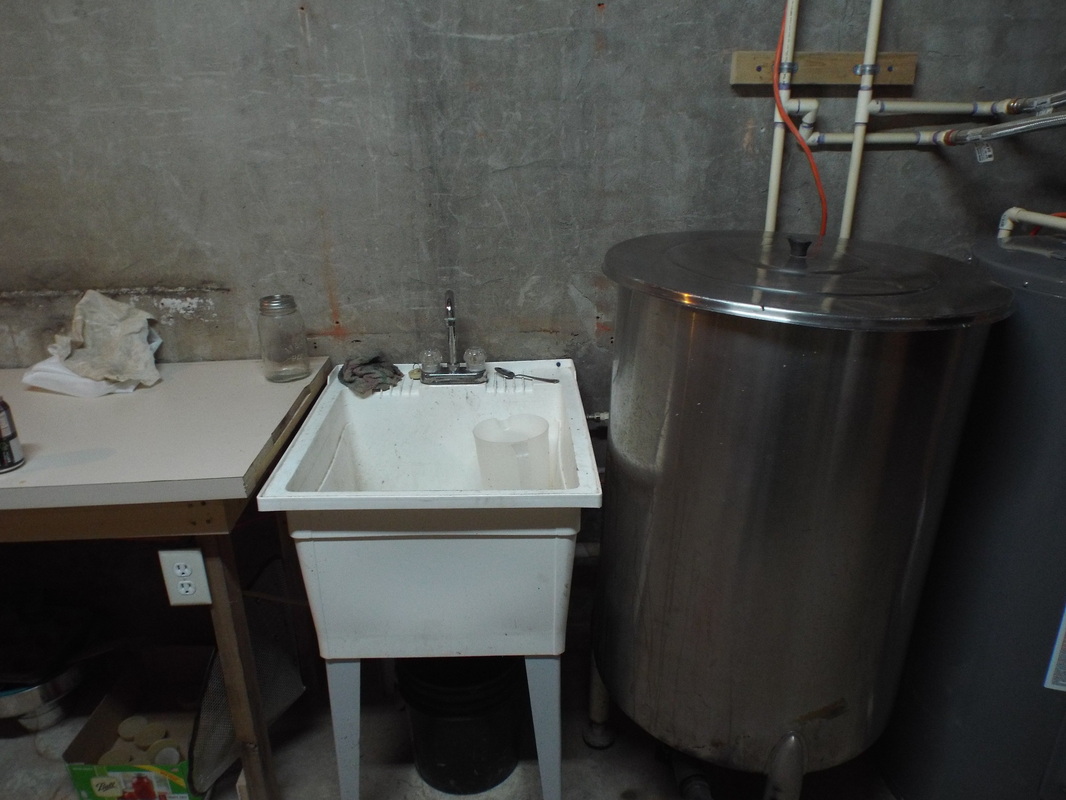
The deep sink in the picture below came from the mud room of an old house and was free for the taking.
Keep your eyes and ears open, and you can find some good deals on used equipment or accessories you can re purpose. Save the money for hives, or BEER to bribe buddies into helping you!
I am going to take one more brief foray into box size here. Extracting efficiently would best be served by using DEEP frames. They hold more honey, and will be handled the same amount of time as a medium or shallow super. Deeps blow out easier when using wax or foundation-less comb, and each frame is heavier, harder to handle.
Shallow supers hold less honey, but are easier to handle and uncap, and so once again, my compromise is in the use of medium frames. More honey stored than a shallow, but not as much weight as a deep frame. Mediums also extract well with less blow outs than deeps when using wax of foundation-less comb.
Everyone has to make their own choices, this was mine, yours will differ depending on your situation.
A note on extracting foundation-less or wax foundation.
If you use a tangential extractor it is much harder to keep the wax from blowing out.
The frames need to be placed, the extractor spun at low speed to get "some" of the honey out. Take the frames out and turn them around, and you can spin the extractor a little faster to get a little "MORE" of the honey out. Reverse the frames again.. etc... what you are doing is taking the weight out a little at a time. the wax is not nearly as strong when it is side loaded. I routinely see people spin the wax OFF the plastic on tangential extractors. This is typical of someone in a hurry. They toss a full frame of cool honey into the extractor and turn it on WOW!
there is NOTHING wrong with a tangential extractor, but like everything you do in LIFE, if you use a wee bit of common sense, it will go much better.
So;
If you use foundation-less or wax frames, I recommend a radial extractor, where the frames go in like the spokes of a wagon wheel. when spun, the wax is END loaded, not side loaded. It can take a lot more abuse this way.
Common sense is STILL in order. You do not need to reverse frames, but you DO need to start out slowly, and let some of the honey spin out to remove some of the weight. Slowly increase the speed. i do not have to run my extractor to max speed to fully empty the frames. it does not take five or ten minutes of spinning. As stated above,
I start out slowly, let it run a few moments, then increase the speed a little, let it run a few moments. THEN, i can run the speed up about 3/4 and go back to decapping frames for a couple of minutes. Come back, shut the extractor down, let it spin itself down without applying the brake. Remove the nicely cleaned out frames and start over.
Rendering Beeswax
Opposite the extractor is my wax rendering station.
If you are going to render your wax, make absolutely certain that you use dedicated equipment. Once you melt beeswax in a pot, it will NEVER be used for anything else.
I strain my melted wax through cheesecloth. I place a piece of cheesecloth loosely over a 5 gallon bucket and wrap a bungee cord around it to secure it in place, then simply pour the wax through. If rendering old comb the cheesecloth will plug up, so a wooden paint stirrer is handy to swish the debris around so the wax can drain before it cools. I will often render my wax three times to get it as clean as possible.
Again, make SURE, the bucket you are pouring the hot wax/water into is a dedicated bucket you will never need to use for anything else. You will understand better once you have done it.
A handy tip about that cheesecloth.. Let the sludge/Slumgum cool and begin to harden, then it will peel off the cheesecloth in a lump. Dip the cheesecloth in water you are boiling for the next batch of wax, and anything left on it will melt away quickly, allowing you to use ONE piece of cheesecloth multiple times.
Don't get too worried about setting everything up perfectly at first. After the first time extracting you will want to make some changes for convenience. A little common sense will get you close, then refine the operation, one step at a time.
I will get a vid of rendering the wax and post it below!
Keep the bees happy!
Scott
